
1. Installation Process for Olinmat Flexible Tiles (MCM)
(1) Installation on Flat Surfaces
① Cement-Based Adhesive Bonding Method
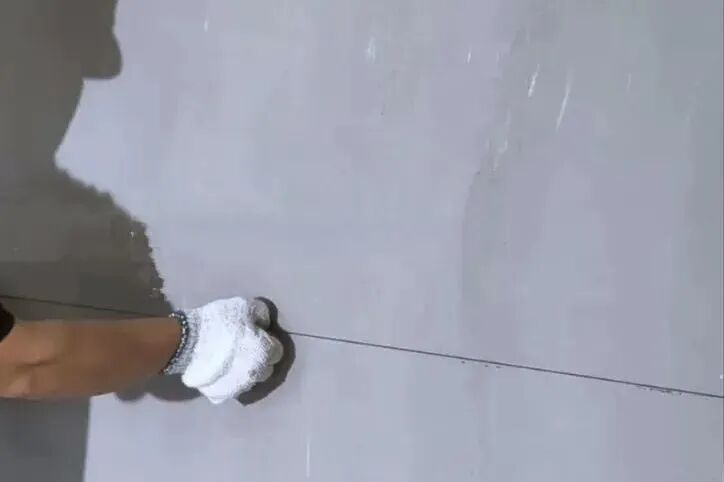
1. Substrate Inspection & Preparation
The substrate must be a plaster layer integrated with alkali-resistant fiberglass mesh. Surface flatness should not exceed 2mm. For overly dry substrates, lightly moisten with water spray.

a. Ensure the substrate is level, smooth, and free from hollow spots or protruding sand grains.
b. For renovation projects: The existing substrate must be free of hollowing, cracks, oil stains, or peeling.
2. Layout & Guide Lines
Snap chalk lines on the substrate according to the wall dimensions and selected product specifications. Set horizontal and vertical guide lines. Use 2-3 horizontal lines per story and vertical lines at intervals of 1-1.5 meters.
3. Adhesive Preparation
Prepare the flexible tile adhesive on-site according to the specified mixing ratio. Use the mixed adhesive within 2 hours.
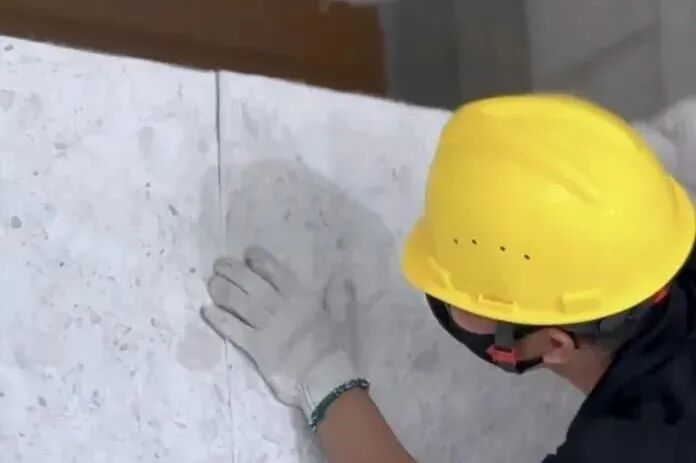
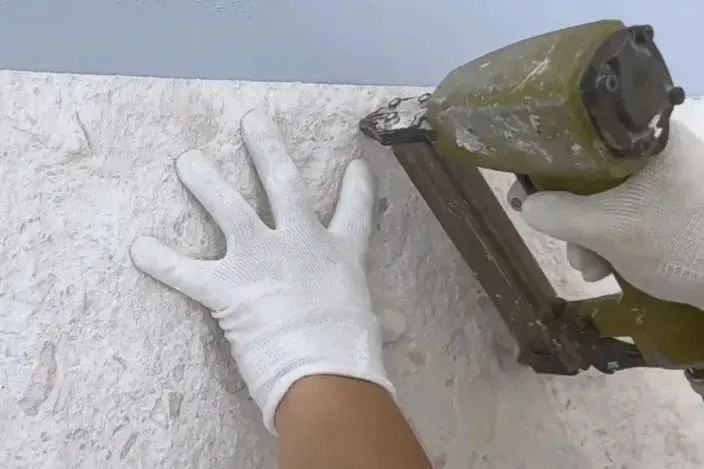
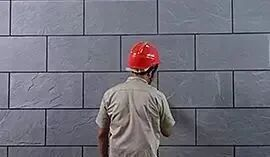
4. Installing Tiles with Adhesive
Work from the top down. Apply a 1-3mm thick layer of adhesive to the wall. Use a notched trowel to create horizontal ridges. Immediately align and press the tile onto the adhesive along the guide lines. Gently tap the tile with a level or suitable tool to ensure full contact and a flat finish. Maintain joint width strictly according to design, with a tolerance of less than 0.5mm.
5. Grouting
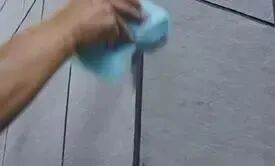
1) Clean adhesive from the joints before it sets to allow proper grout application. Use a round tool smaller than the joint width to clear excess adhesive. This must be done before the adhesive begins to set.
2) Mix the dedicated flexible tile grout to a paste consistency. Transfer it to a grout bag or applicator gun and fill the joints.
3) Use a dedicated grouting tool to finish the joints. Achieve joints that are continuous, straight, smooth, and free of cracks or gaps. Follow a horizontal-then-vertical sequence.
6. Applying the Protective Topcoat
Apply the topcoat by brush, roller, or spray as per project requirements. Apply evenly over tiles and joints 24 hours after grouting. Ensure complete coverage without misses.
② Transparent Adhesive Bonding Method
1. The wall surface must be flat, and door/window frames must be perfectly vertical.
2. Perform layout and set guide lines as described above. It is essential to set vertical lines at all door/window openings.
3. When using TH transparent adhesive, note that the final grout color is determined by the color of the primer/base coat.
4. Apply the adhesive to the substrate by roller or trowel at a rate of approximately 0.65 kg/m². Typically, work on an area of about 1 m² at a time. Install the tile immediately after applying the adhesive. Important: The TH adhesive loses its bonding property once it turns from milky-white to transparent.
5. Press the tile firmly against the substrate until adhesive slightly oozes from the edges. Use a brush to evenly spread any adhesive on the tile surface or within the joints.
6. Applying the Topcoat: 24 hours after installation, apply the TH topcoat evenly over the tiles and joints using a saturated roller. Ensure the grout in the joints is filled to a thickness or equal to the tile thickness. Application rate: ~0.3 kg/m². Apply in 2-3 coats to prevent drips or runs.
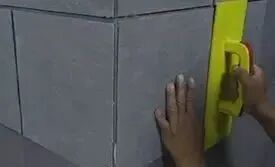
(2) Installation on External Corners
1. The substrate at the corner must be flat. Leave a 1-2mm gap from the corner on both sides to facilitate grouting.
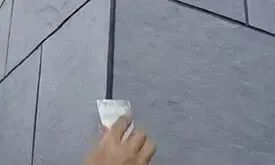
2. Fill the corner joint using a plastic bag filled with grout.

3. Use the dedicated jointing tool to shape the grout, creating a deep, concave, full, and smooth joint line.

4. Remove excess grout outside the joint with a small putty knife when it is semi-dry.
5. Wipe away dust with a dry sponge. For stubborn stains, use the dedicated Olinmat Flexible Tile cleaner or a putty knife. Avoid wet wiping.
6. Final result after completion.
(3) 45° Mitered Corner Treatment
1. Use a small angle grinder to bevel the edge of the tile at a 45° angle.
2. Apply adhesive generously to the corner area. Press both mitered tiles together firmly with even pressure.
3. If gaps remain at the seam, fill them meticulously with color-matched grout.
4. After the adhesive/grout has dried, gently smooth the corner using a grinder disc or a piece of the same tile to achieve a seamless, rounded finish.
Important Construction Notes
1. New Walls (Alkalinity): New walls contain residual alkali. Apply an anti-efflorescence primer before installing Olinmat Flexible Tiles to effectively prevent alkali-related issues.
2. Concrete Wall Waterproofing: For concrete walls, ensure the surface is flat. Check for potential water seepage. If necessary, apply a waterproof coating as a base layer before tile installation. Otherwise, proceed directly with layout and installation.
3. Wall Renovation: If the existing wall finish (paint or old tiles) is severely aged, it must be completely removed before installation. This is critical for painted surfaces, which must be scraped off.
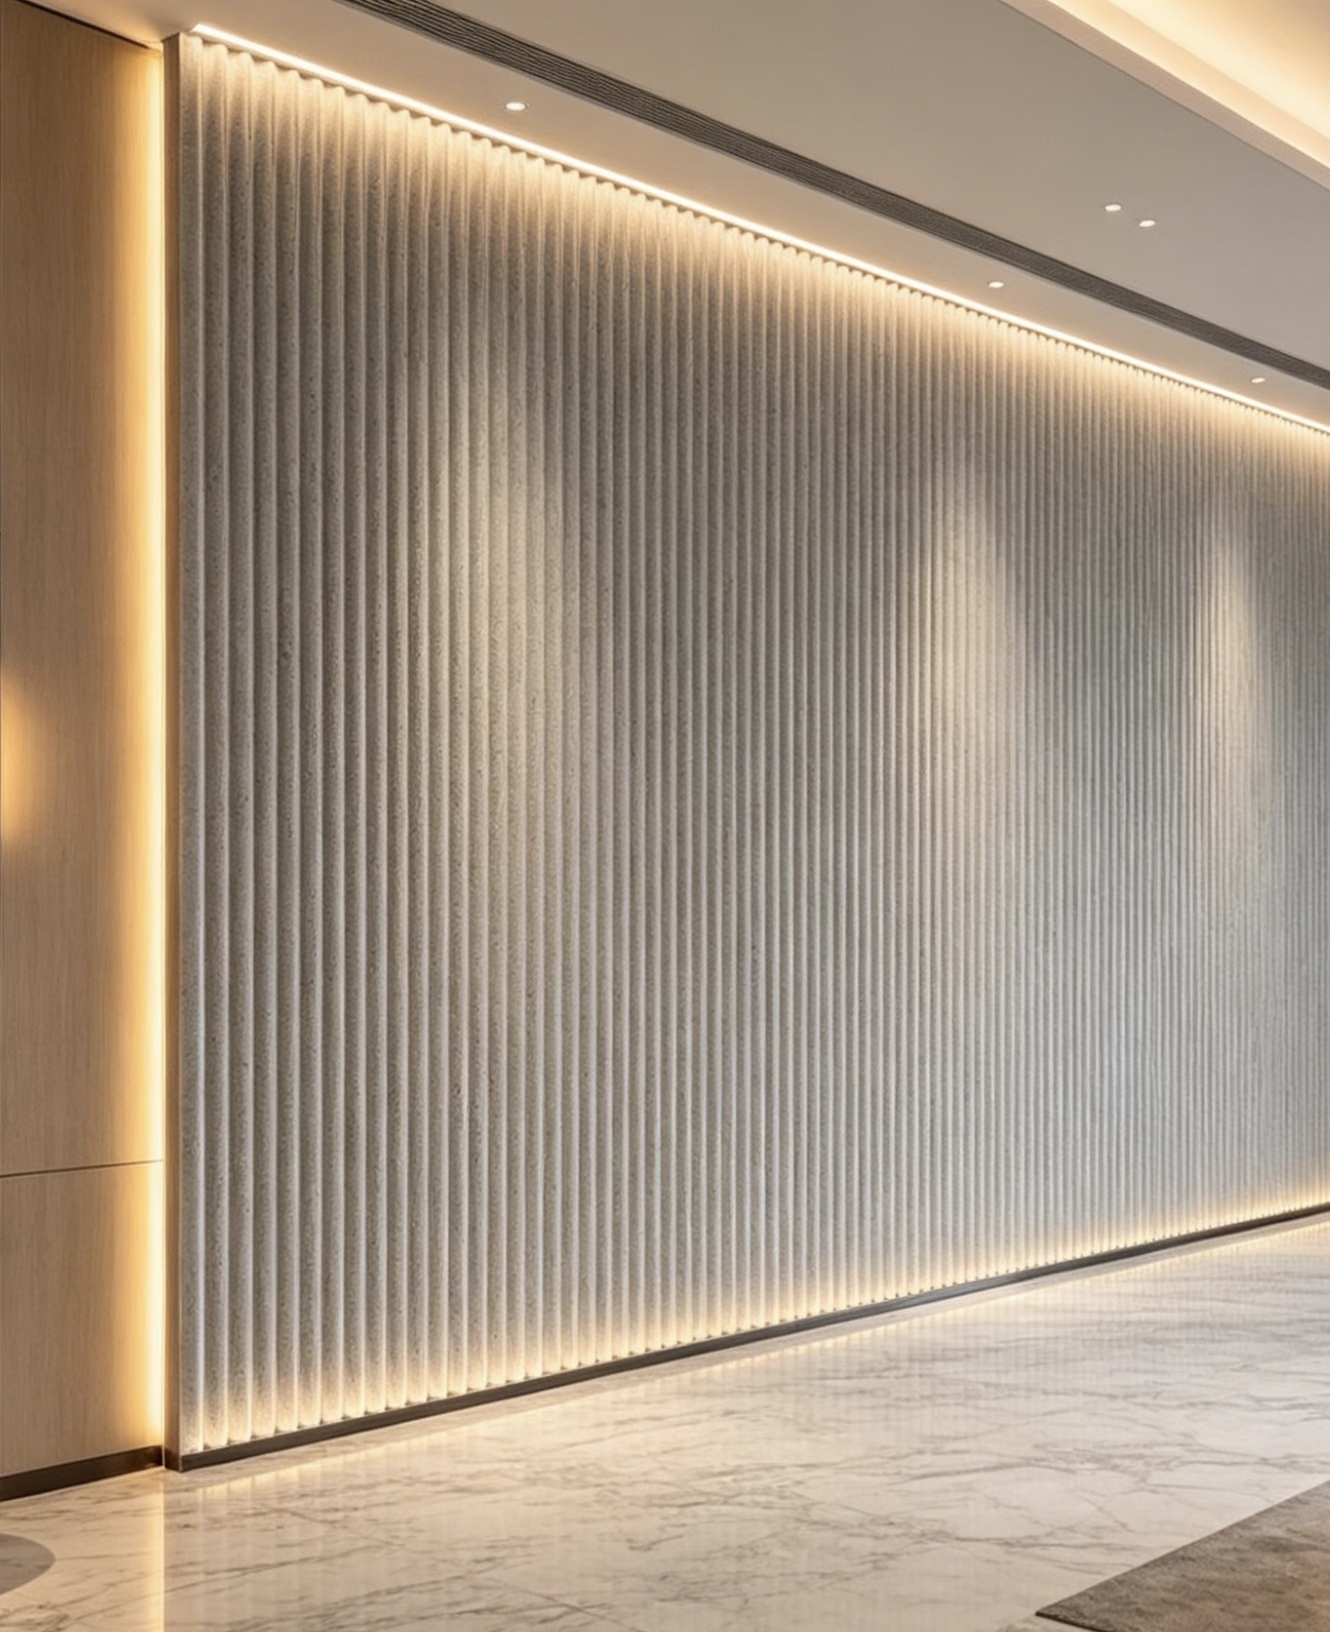
Olinmat Flexible Tiles (MCM) combine superior aesthetics with exceptional performance, offering significant advantages such as being ultra-lightweight (reducing structural load), highly flexible for complex surfaces, and achieving Class A fire resistance. Proven in diverse international projects including modern facades, healthcare facilities, and heritage renovations, Olinmat products are backed by rigorous international quality and safety certifications, ensuring reliability and innovation for your most demanding architectural challenges.